Overview
FlexiProof lets you create social-proof widgets that display sales, lead, and visitor activity on FlexiFunnels pages. These alerts help visitors see relevant activity while they browse your page.
Use FlexiProof to create Sales Alerts, Lead Alerts, and Visitor Alerts, then publish the selected widget automatically to the FlexiFunnels pages you choose.
Before You Begin
- Sign in to your FlexiFunnels account.
- Ensure that the required products, projects, and landing pages are available in FlexiFunnels.
- Prepare the alert title, message, image, colors, and redirect URL, if applicable.
- Publish the FlexiFunnels pages where you plan to display alerts.
Video Tutorial
Step 1: Access FlexiProof
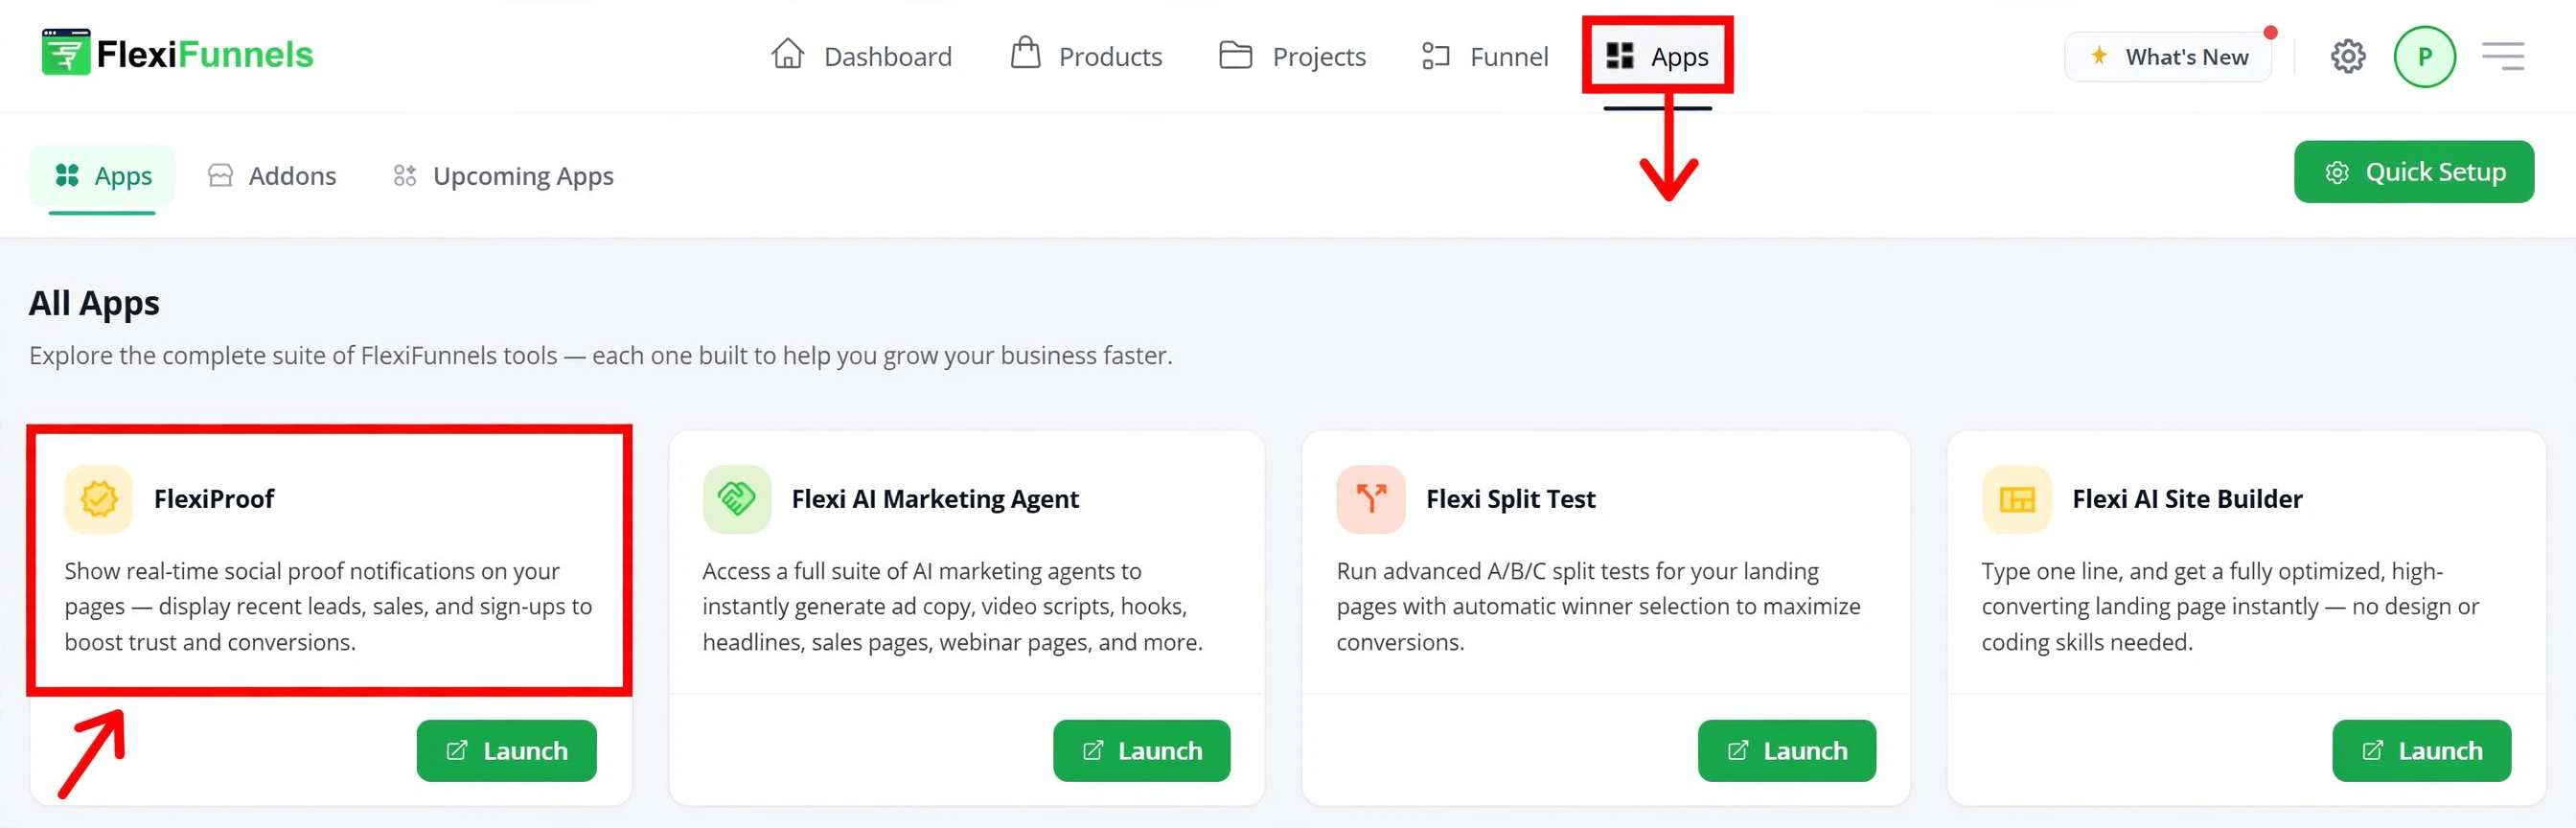
Log in to your FlexiFunnels dashboard. Open the Apps section and select FlexiProof. This automatically opens your FlexiProof account.
Step 2: Create a New Campaign
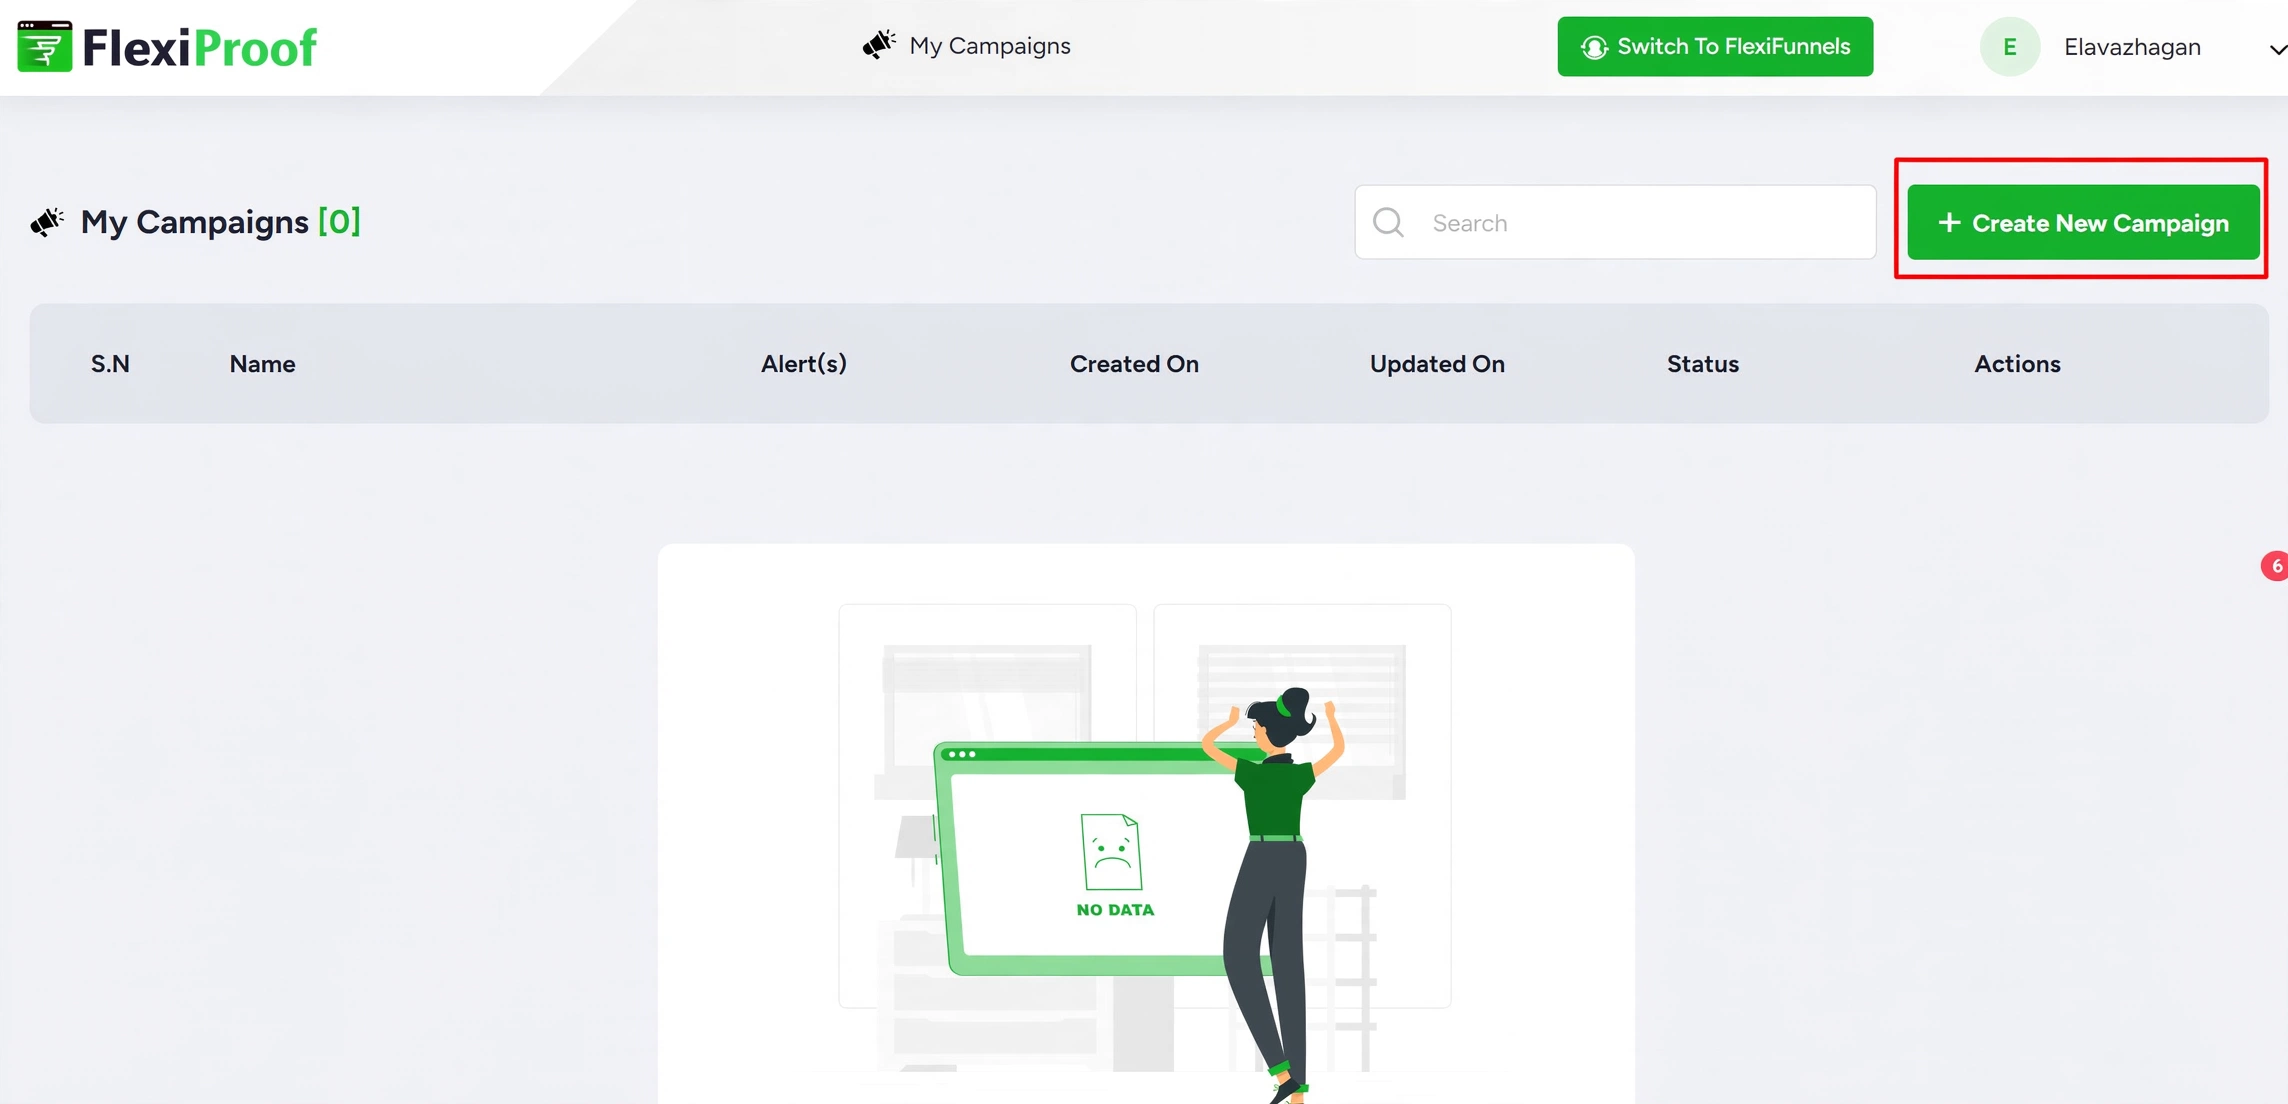
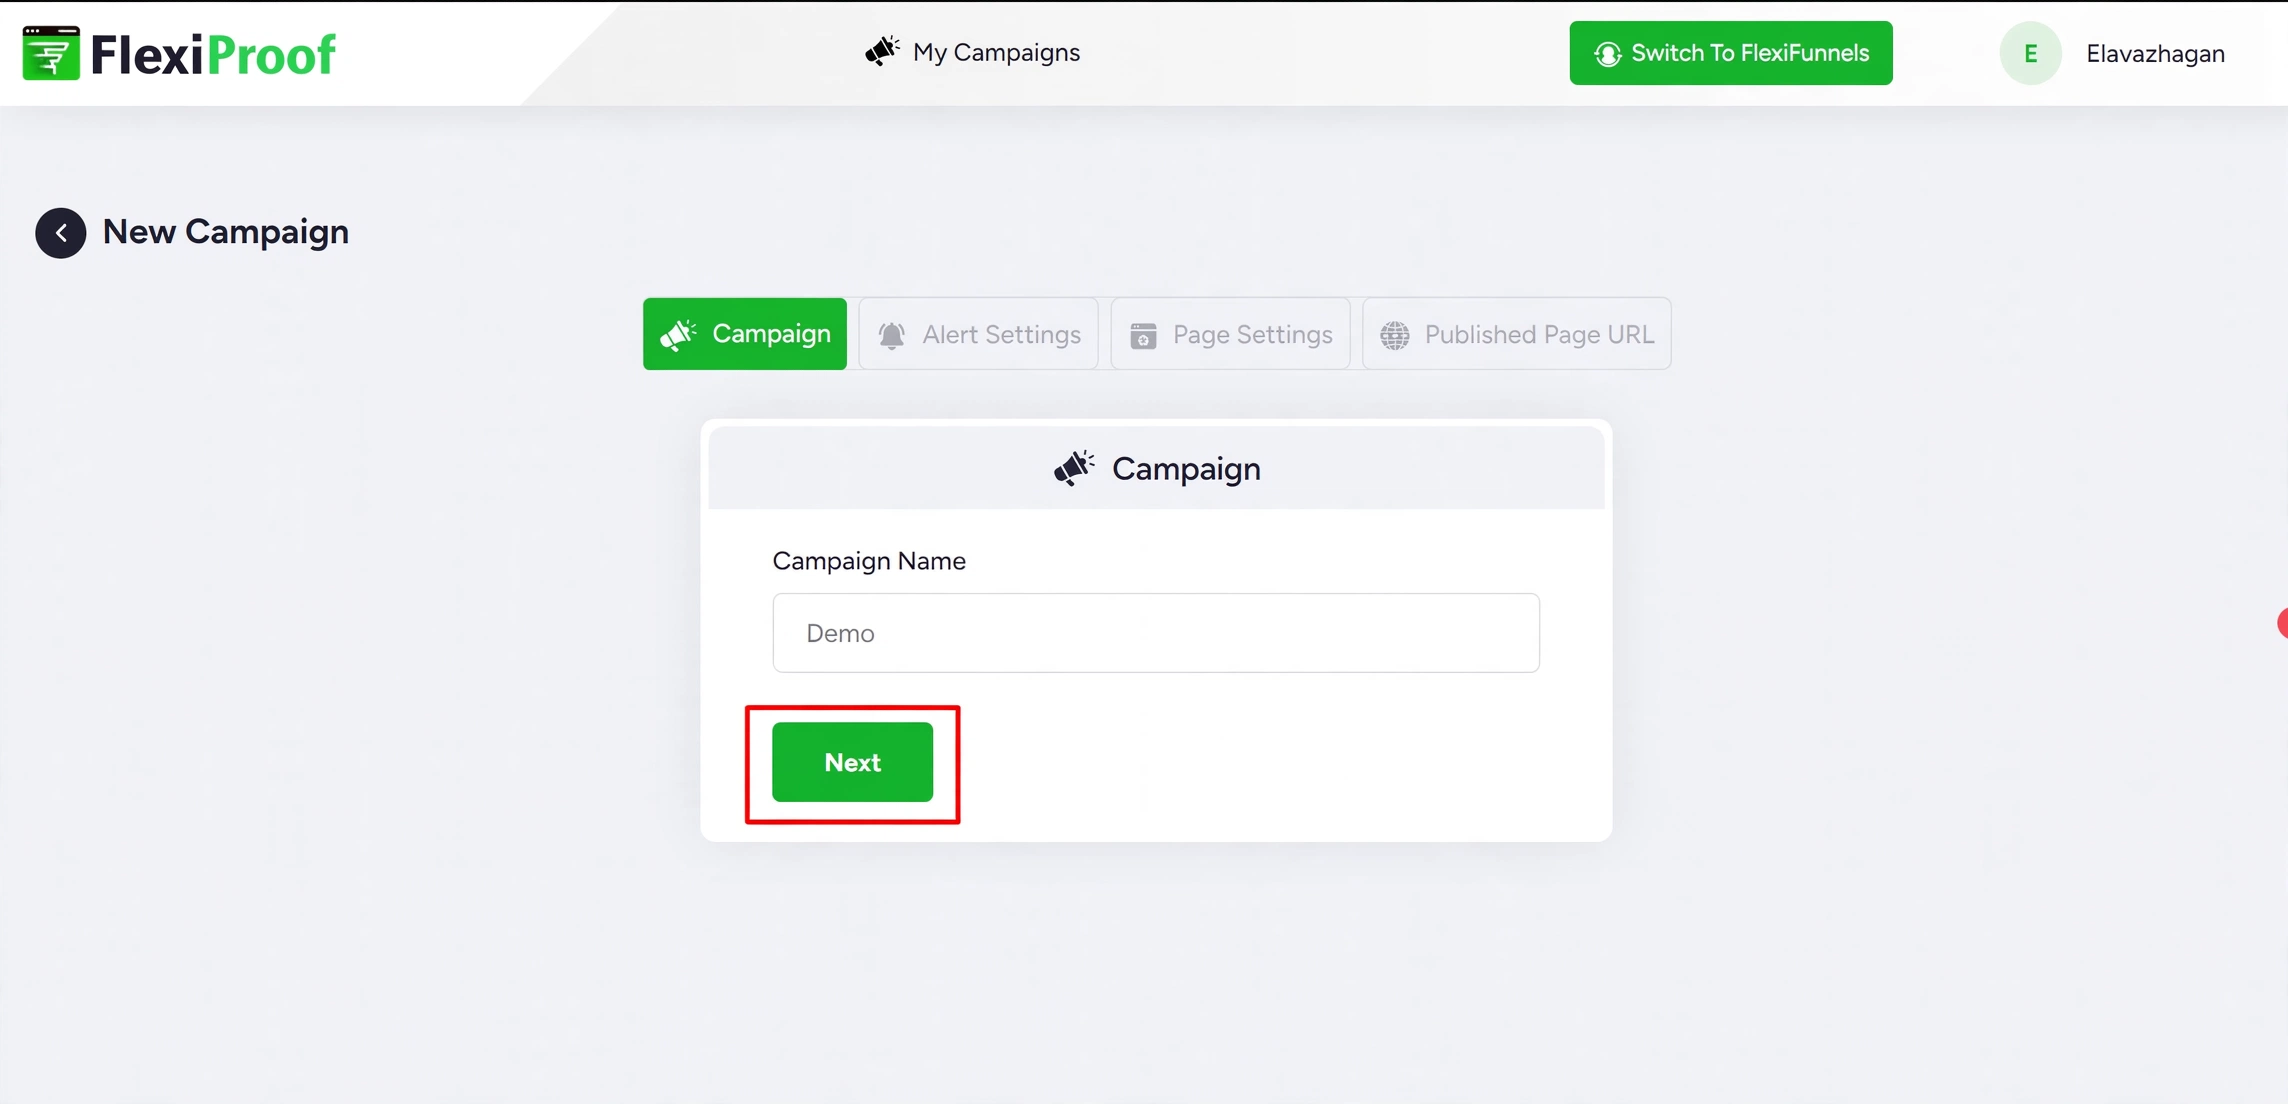
Select Create New Campaign, enter a campaign name, and select Next. Use a clear name so you can identify the alert campaign later.
Step 3: Select an Alert Type
In Alert Settings, enable the toggle for the alert type you want to create.
- Sales Alert: Displays sales activity based on selected products.
- Lead Alert: Displays lead activity based on selected projects and pages.
- Visitor Alert: Displays visitor activity for selected pages.

Step 4: Select the Data Source
For a Sales Alert, select the products from which FlexiProof should retrieve sales records. For Lead or Visitor Alerts, select the relevant projects and pages. Then select Next.

Step 5: Select and Customize a Widget Template
Choose a DFY template, then customize the widget design. Configure the alert title, alert message, image, highlight color, and background color. Select Next after completing the design.


Step 6: Configure Widget Behavior
Configure widget behavior, including animations and any social media icons to display. Select Save when the behavior settings are complete.

Step 7: Select Pages and Display Settings
In Page Settings, select the projects and pages where the alert widget should appear. Configure the widget position, redirect URL, mobile display position, and alert frequency. Select Save when finished.


Step 8: Confirm Auto-Published Pages
Open Published Page URL to review the pages where the FlexiProof widget is available. Auto-publishing may take a few minutes. Open the relevant published page to view the alert widget.

Verify the Configuration
Open a selected published page and confirm that the widget appears in the configured position. Verify the alert content, template, colors, behavior, redirect URL, frequency, and mobile visibility.
Common Scenarios
- Sales activity: Display activity from selected products.
- Lead activity: Show relevant lead alerts on a landing page.
- Visitor engagement: Display visitor alerts for a selected page.
- Offer promotion: Use a widget redirect URL to guide visitors to a relevant offer page.
Best Practices
- Use a descriptive campaign name.
- Select only products, projects, and pages relevant to the alert.
- Keep alert titles and messages concise.
- Use colors that remain readable against the page background.
- Test the widget on desktop and mobile.
- Set an alert frequency that does not interrupt the visitor experience.
Before Contacting Support
- Confirm that the campaign was saved.
- Verify the selected alert type and data source.
- Confirm that the correct pages were selected in Page Settings.
- Wait a few minutes for auto-publishing to complete.
- Test the published page URL on desktop and mobile.
Expected Outcome
After configuration, the selected FlexiProof widget is automatically published to the chosen FlexiFunnels pages and displays according to the configured design, behavior, frequency, and position.
Related Articles
Was this article helpful?
That’s Great!
Thank you for your feedback
Sorry! We couldn't be helpful
Thank you for your feedback
Feedback sent
We appreciate your effort and will try to fix the article