What This Feature Does
Lets you grant someone access to your membership course directly, without them going through checkout — useful for comps, team access, manual sales, or fixing a payment issue.
Before You Start
- The Membership Project must already be created (see Membership Course Creation)
- A Membership Product must already exist and be connected to the project — you can't manually add a member without a product to attach them to
- Decide in advance which bundle/product tier this person should get access to (Full, Lite, etc.) if you have multiple
Step 1: Open the Membership Project
- Go to your Membership Project
Step 2: Go to My Members
- Click "My Members"
- Click "Create Member"

Step 3: Fill in Member Details
- Enter:
- First Name
- Password
- Under "Choose Product,"select which product/bundle this member should have access to
- This determines exactly what content they can see — same logic as a normal paid purchase
- Click "Save"
Step 4: Create the Member
- Click "Create Member"
- This grants access immediately and (depending on your notification settings) may trigger the same welcome/access email a normal purchaser would receive
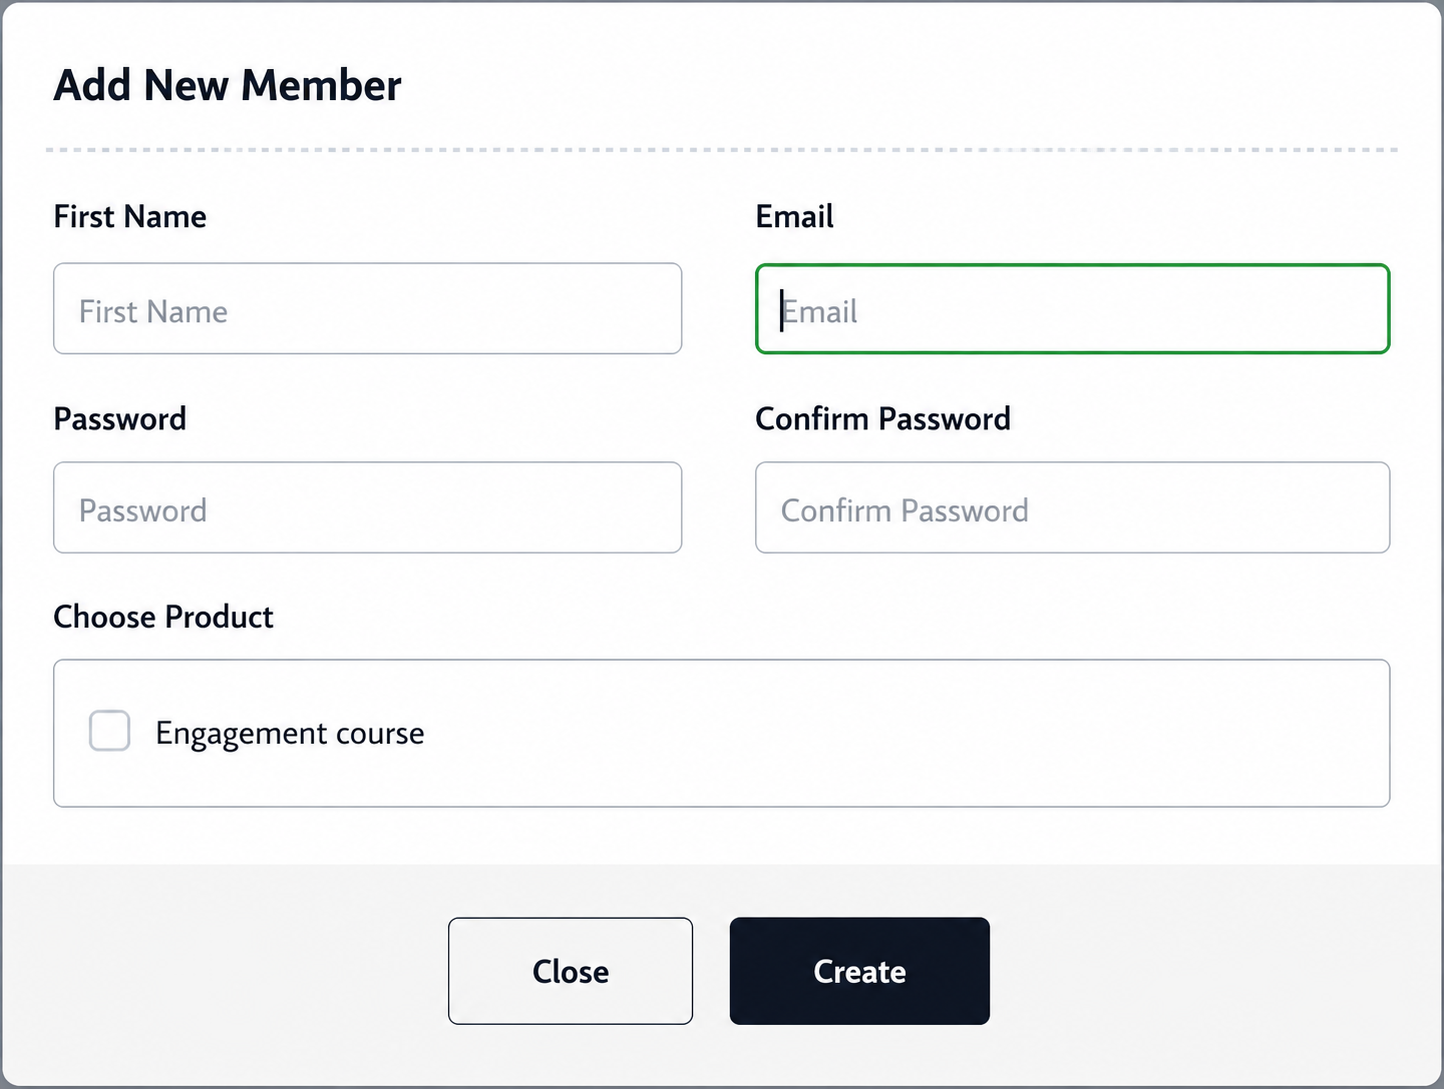
One can set the First Name, Email & Password of the member using these settings.
Choose Product - Every membership project should be connected to a Membership Product in order to give manual access and after that click on the save.
Then click on the Product to which access has to be given from the "choose product" option.
Then click on the "Create Member" button to send manual access and to add a member to your membership course.
Step 5: Verify Access
- Go back to My Members
- Confirm the new member appears in the list with the correct product assigned
- Test if possible: log in as that member (or ask them to confirm) to verify they can actually see the intended content
Real-World Scenario
Use case: A customer paid via bank transfer outside your normal checkout flow, and you need to manually grant them access.
Steps:
- Create Membership Project → already exists
- My Members → Create Member
- Enter their name, email, a temporary password
- Choose Product → select the exact tier they paid for
- Create Member → they now have access matching what they paid for
Important: If they paid for a Lite package but you accidentally choose the Full product, they get more than they paid for — with no automatic flag telling you this happened. Double-check the product selection every time.
Common Issues & Fixes
| Problem | Likely Cause | Fix |
|---|---|---|
| "Create Member" button is missing or greyed out | No Membership Product connected to the project yet | Set up and connect a product first, then return to this step |
| Member created but can't access any content | Wrong product/bundle selected under "Choose Product" | Edit the member's record and correct the product assignment |
| Member didn't receive login details | Notification/email settings may not trigger for manually created members, or email landed in spam | Manually share the login URL and credentials directly, and check Sender Information setup |
| Duplicate member error | Email address already exists in the system (e.g., from a prior purchase or trial) | Search existing members first before creating a new one — edit the existing record instead |
Was this article helpful?
That’s Great!
Thank you for your feedback
Sorry! We couldn't be helpful
Thank you for your feedback
Feedback sent
We appreciate your effort and will try to fix the article