Overview
Animation Settings let you add visual motion effects to individual elements on a FlexiFunnels landing page. You can configure animations to run when the page loads or when visitors scroll to a specific element.
Use animations to bring attention to important components, such as headings, call-to-action buttons, offers, forms, testimonials, and images, while maintaining a clear and focused page experience.
Before You Begin
- Sign in to your FlexiFunnels account.
- Open the required landing page in the Editor .
- Identify the component you want to animate, such as a text block, image, button, or form section.
- Publish the page after saving your animation configuration to test it on the live page.
Step 1: Select the Element to Animate
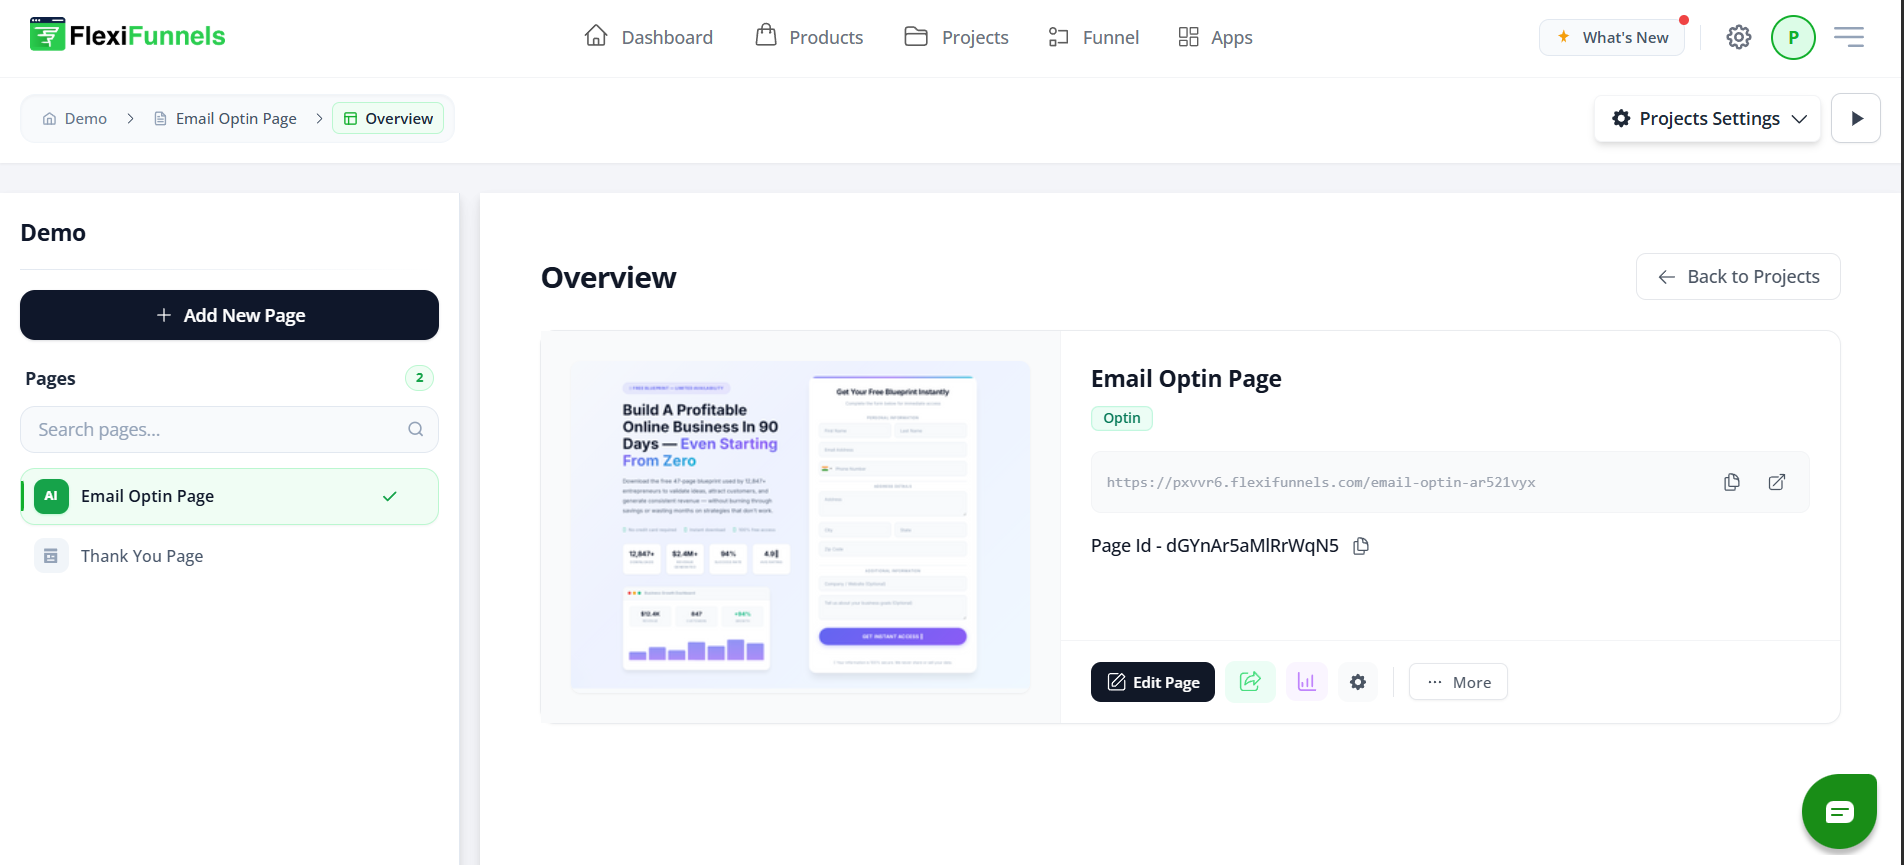
Open the landing page in the FlexiFunnels editor and select the element to which you want to apply an animation. Each component has its own settings, allowing you to configure animations independently.
Step 2: Open Animation Settings
Open the selected element’s Personal Settings tab, then scroll to the Animation Settings section. Choose whether the animation should run when the page loads or when the visitor scrolls to the element.
Step 3: Configure an On-Load Animation
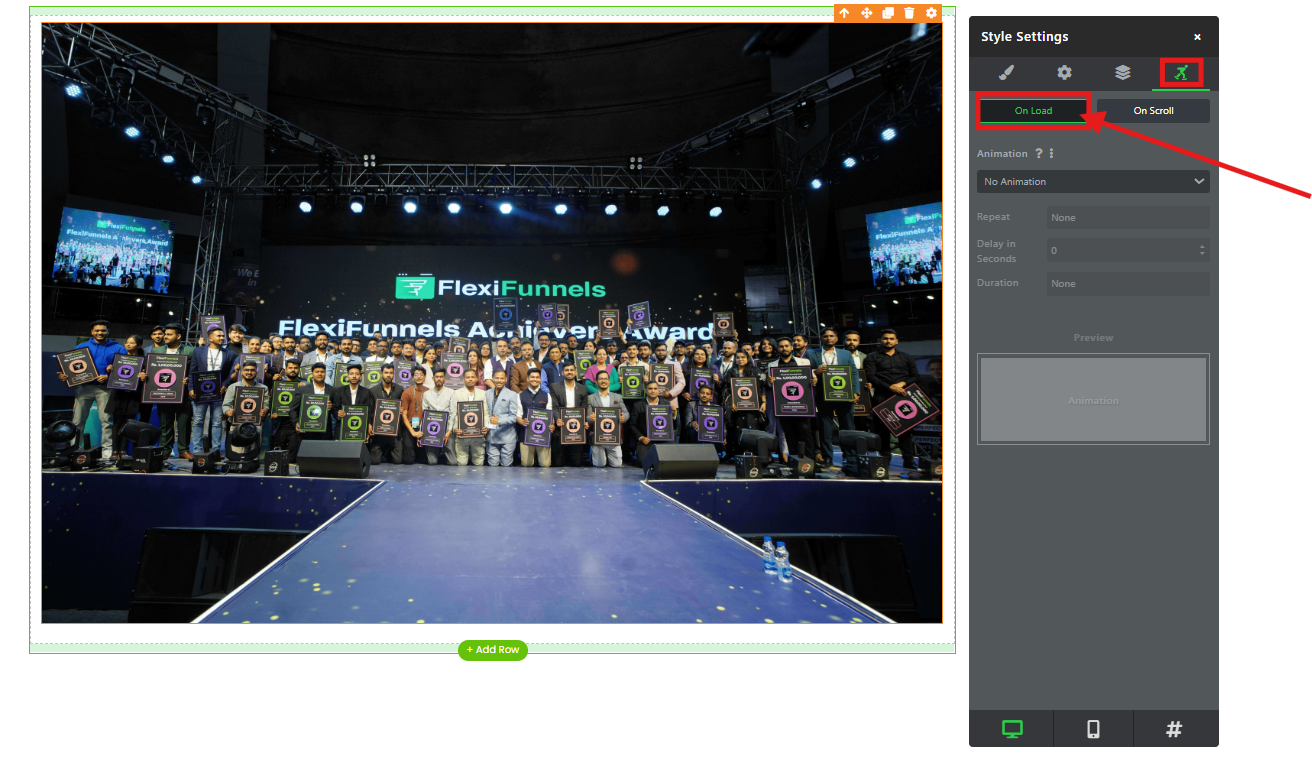
Use an On-Load Animation when you want the selected element to animate as soon as the landing page loads. This is useful for highlighting key above-the-fold content, such as a headline, offer, or primary call to action.
After selecting an on-load animation, configure the following options:
- Repeat: Set the number of times the animation repeats.
- Delay: Set the number of seconds to wait before the animation starts after page load.
- Duration: Set how long the animation takes to complete.
Example: Configure a headline to fade in two seconds after the page loads and repeat twice.
Step 4: Configure an On-Scroll Animation
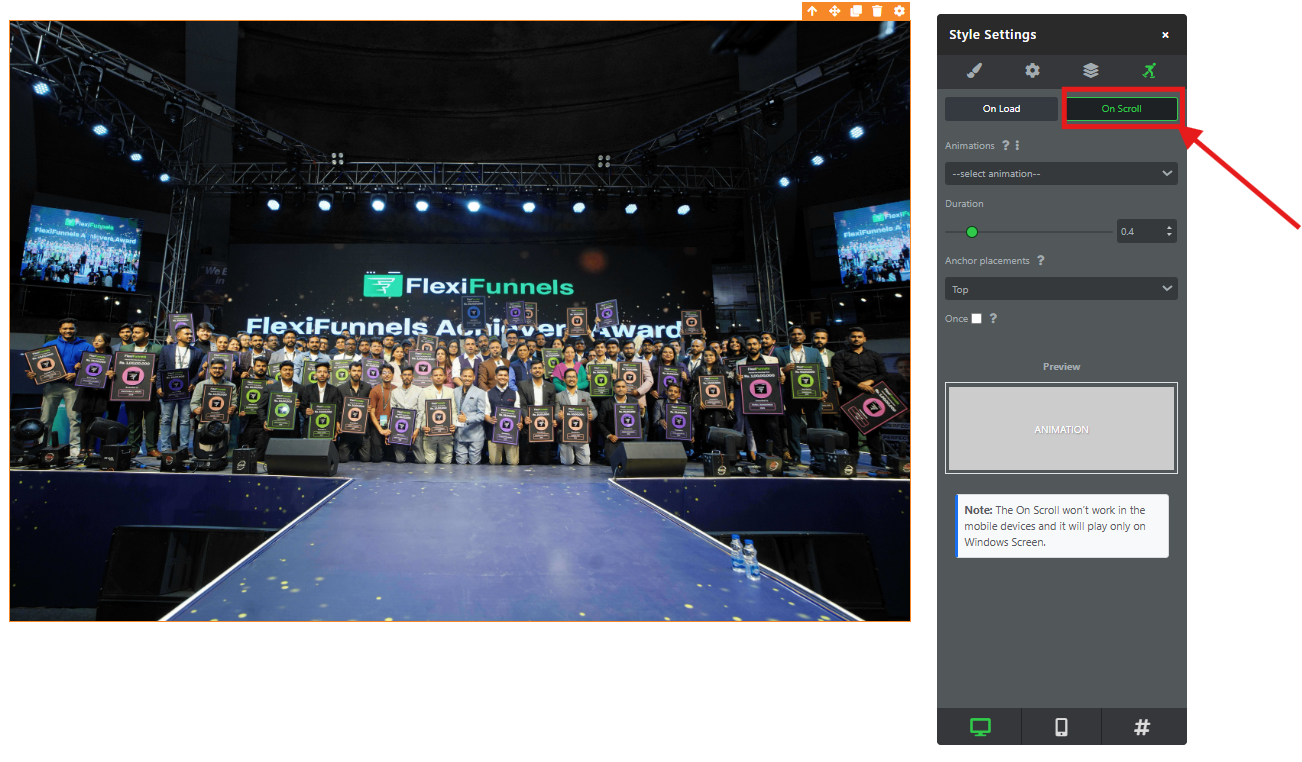
Use an On-Scroll Animation when you want an element to animate after a visitor scrolls to it on the live page. This option is useful for content lower on the page, such as testimonials, feature sections, or form blocks.
Configure the following settings:
- Duration: Set how long the animation takes to complete.
- Anchor Placement: Select the point at which the animation begins as the element enters the viewport, such as the top, center, or bottom of the screen.
- Once: Choose whether the animation runs only once or runs each time the visitor scrolls back to the element.
Example: Configure a testimonial block to slide in from the side when a visitor scrolls to that section.
Step 5: Save and Publish the Page
Save the element settings after configuring the animation. Then publish the landing page so that the animation settings are applied to the live page.
Verify the Configuration
Preview or open the published page to verify the selected behavior. For on-load animations, refresh the page and confirm that the element animates after the configured delay. For on-scroll animations, scroll to the element and confirm that the animation starts at the selected anchor placement.
Common Scenarios
- Primary call to action: Use an on-load animation to bring attention to a button or offer near the top of the page.
- Lead generation form: Use an on-scroll animation to highlight a form when visitors reach the relevant section.
- Testimonial section: Animate testimonials as visitors scroll through social proof content.
- Offer details: Use a subtle animation to draw attention to a limited-time offer or key benefit.
- Product visuals: Animate an image or feature block when it enters the viewport.
Best Practices
- Use animations sparingly and reserve them for important page components.
- Use short durations so the page remains easy to scan.
- Avoid applying repeated animations to multiple elements at the same time.
- Use on-load animations primarily for content visible when the page opens.
- Use on-scroll animations for sections that visitors reach later in the page journey.
- Preview the page on desktop and mobile before publishing.
- Ensure that animated content remains readable and does not obscure buttons, forms, or other interactive elements.
Before Contacting Support
- Confirm that the correct landing page and element are selected.
- Verify that an animation type has been selected in Personal Settings.
- Check the configured duration, delay, repeat count, and anchor placement.
- Save the element settings and publish the page again.
- Test the animation on the published page in a current browser.
- Check the page on both desktop and mobile devices.
Expected Outcome
After configuration and publication, the selected FlexiFunnels element animates according to the settings you selected. On-load animations run when the page opens, while on-scroll animations run when visitors reach the configured element on the live page.
Related Articles
Was this article helpful?
That’s Great!
Thank you for your feedback
Sorry! We couldn't be helpful
Thank you for your feedback
Feedback sent
We appreciate your effort and will try to fix the article